
Getting Started with your Mini Tree #
Get up and running in 5 minutes!
Contents #
Unboxing #
Complete Mini Tree #
Complete Mini Trees are shipped pre-assembled, so you only have to remove the Mini Tree from the packaging.
- Remove the Mini Tree from the packaging
That's it! Move onto powering up.
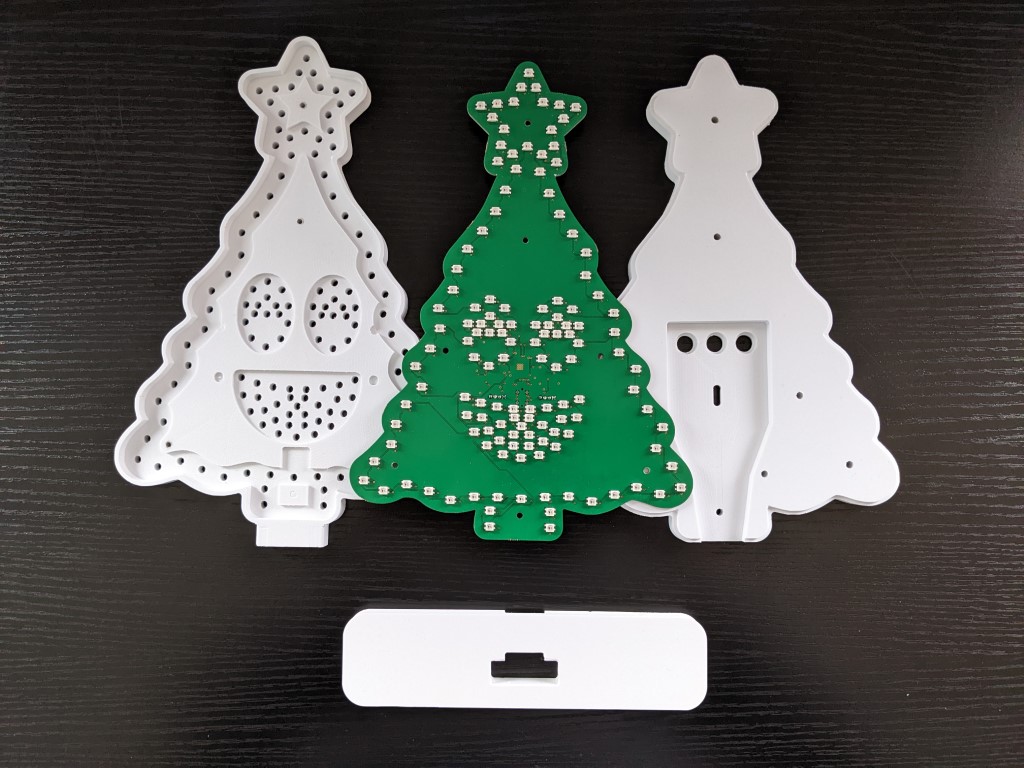
Mini Tree Circuit Board and Clamshell Case bought separately #
If you bought the Mini Tree Circuit board and Clamshell Case separately, follow these simple steps to assemble your complete Mini Tree.
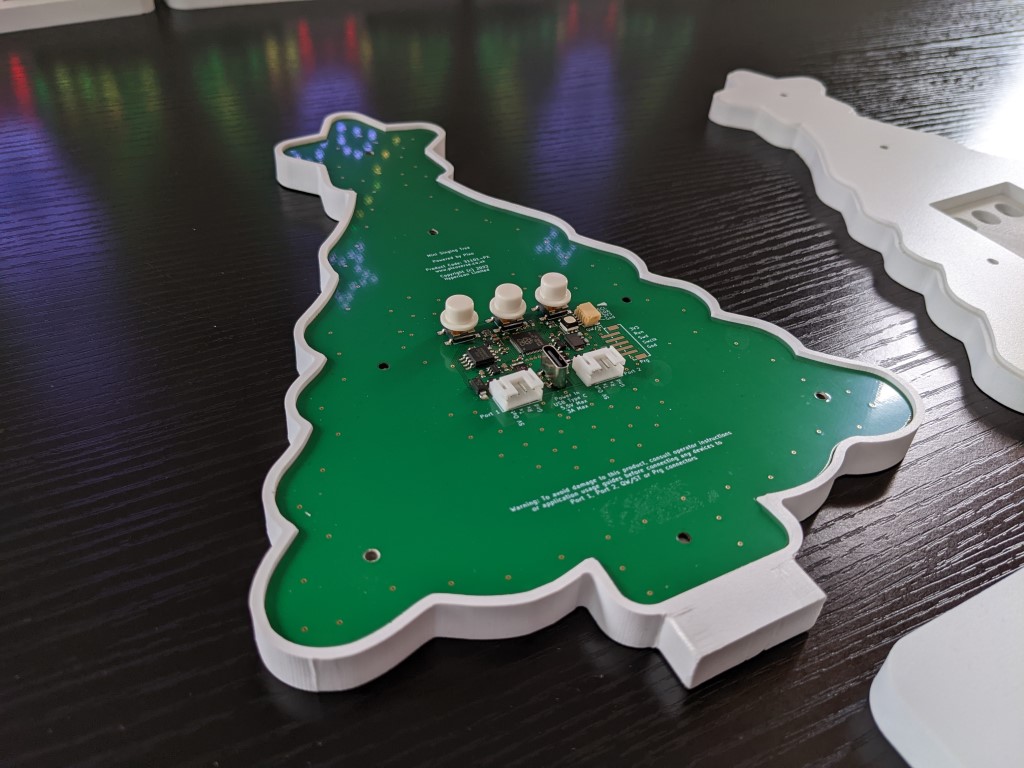
- Push the circuit board firmly into the front part of the case
- Place the rear part of the case onto the back of the circuit board - be careful when guiding the buttons through the holes in the case!
- Firmly press the rear onto the front of the case - the two halves will "snap" together
- (optional) Screw the rear part of the case onto the front
- Line up the tab of the bottom of the Mini Tree with the hole in the base, then push the Tree down firmly onto the base


Powering Up #
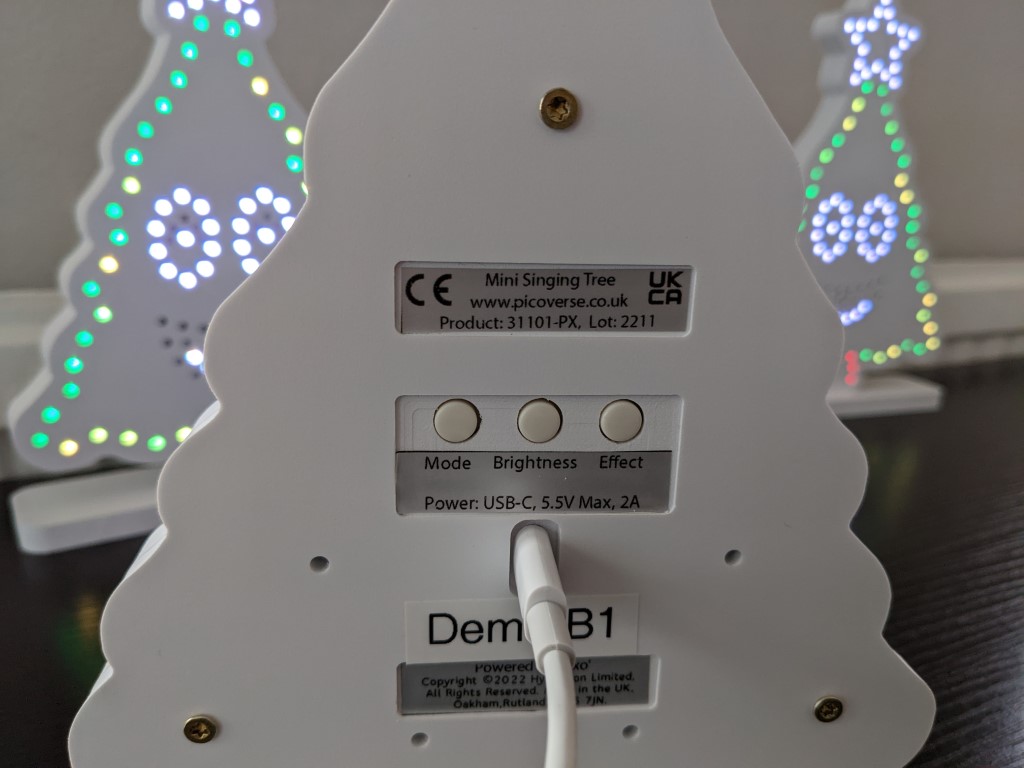
- Connect a USB-C cable to the USB-C connector on the rear of the Mini Tree.
- connect the other end of the cable to any USB power source (laptop, desktop, USB hub, mains adapter, etc.)
That's it! Your Mini Tree will light up after a few seconds.
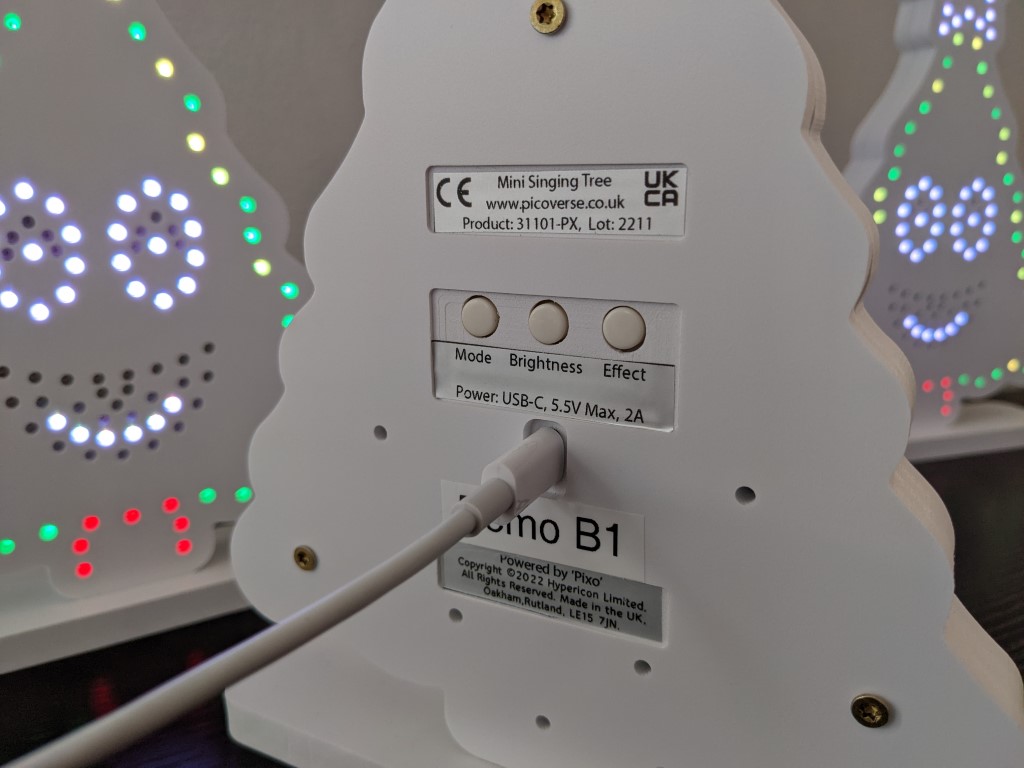
Connecting a USB-C cable to the Mini Tree
NOTE:
- Each Mini Tree can draw up to 1 Amp, depending on the brightness setting and selected effect.
- During normal operation, they will draw less than that maximum value.
While the Mini Trees can be powered from any USB power source, if you connect a number of Mini Trees to a low-power power source, they may appear dim or not light up at all.
In that case, connect the Mini Trees to a device that can supply more current like a powered USB hub, or connect the Mini Trees to separate power sources.
Mini Tree powered up
Selecting Effects #
Mini Trees have three buttons on the rear for easy standalone control.
The buttons are labelled on the rear of the case, and are, from left to right:
- Mode
- Brightness
- Effect
Mini Tree rear buttons
Mode #
The Mode button cycles through the four built-in modes which are, in order:
- "Happy" - the Mini Tree displays one of the built in effects with a mainly green colour palette, and a moderate amount of animation
- "Excited" - the Mini Tree displays one of the built in effects with a mainly red colour palette, and a high amount of animation
- "Sleepy" - the Mini Tree displays one of the built in effects with a mainly blue colour palette, and a low amount of animation
- "Command" - the Mini Tree responds to commands send over USB from the Pixo Control App
When one of the "Happy", "Excited", or "Sleepy" modes is selected, the current effect can be changed with the "Effect" button.
Brightness #
The Brightness button cycles through the built-in brightness levels. The levels are, in order:
- Off
- Dim
- Medium
- Bright
If the Mini Tree does not appear to "turn on" when power is applied, try pressing the Brightness button in case the Brightness value is set to "Off".
The brightness percentage can be controlled with a slider in the Pixo Control App for more fine-grained control.
Effect #
The Mini Tree comes with a number of built-in effects. When the Mini Tree is in "Happy", "Excited", or "Sleepy" mode, the Effect button can be used to cycle through the list of effects.
The current effect will be changed depending on the current Mode, altering both the colour palette and intensity of animation.
The built-in effects are, in order:
- Twinkle
- Rainbow
- Chase Band
- Wipe
- Fade
- Pulse
- Twinkle Fade
- Flicker
- Static
If the Mini Tree seems to be unresponsive to the Effect button, it may be in "Command" mode inadvertently. Cycle the mode with the Mode button.